Buttons and widgets
Header icon
A heart in your store header with the number of saved items, next to the cart.
The header icon gives shoppers one obvious place to find their wishlist on every page. The number next to it counts what they've saved across all their wishlists.
Turn it on
- Open Features.
- On the Wishlist Header card, tick Enable.
On supported themes the icon is added to your header automatically. The setup wizard tells you whether your theme is one of them. If it isn't, email us and we'll add it, or place it yourself.
Settings
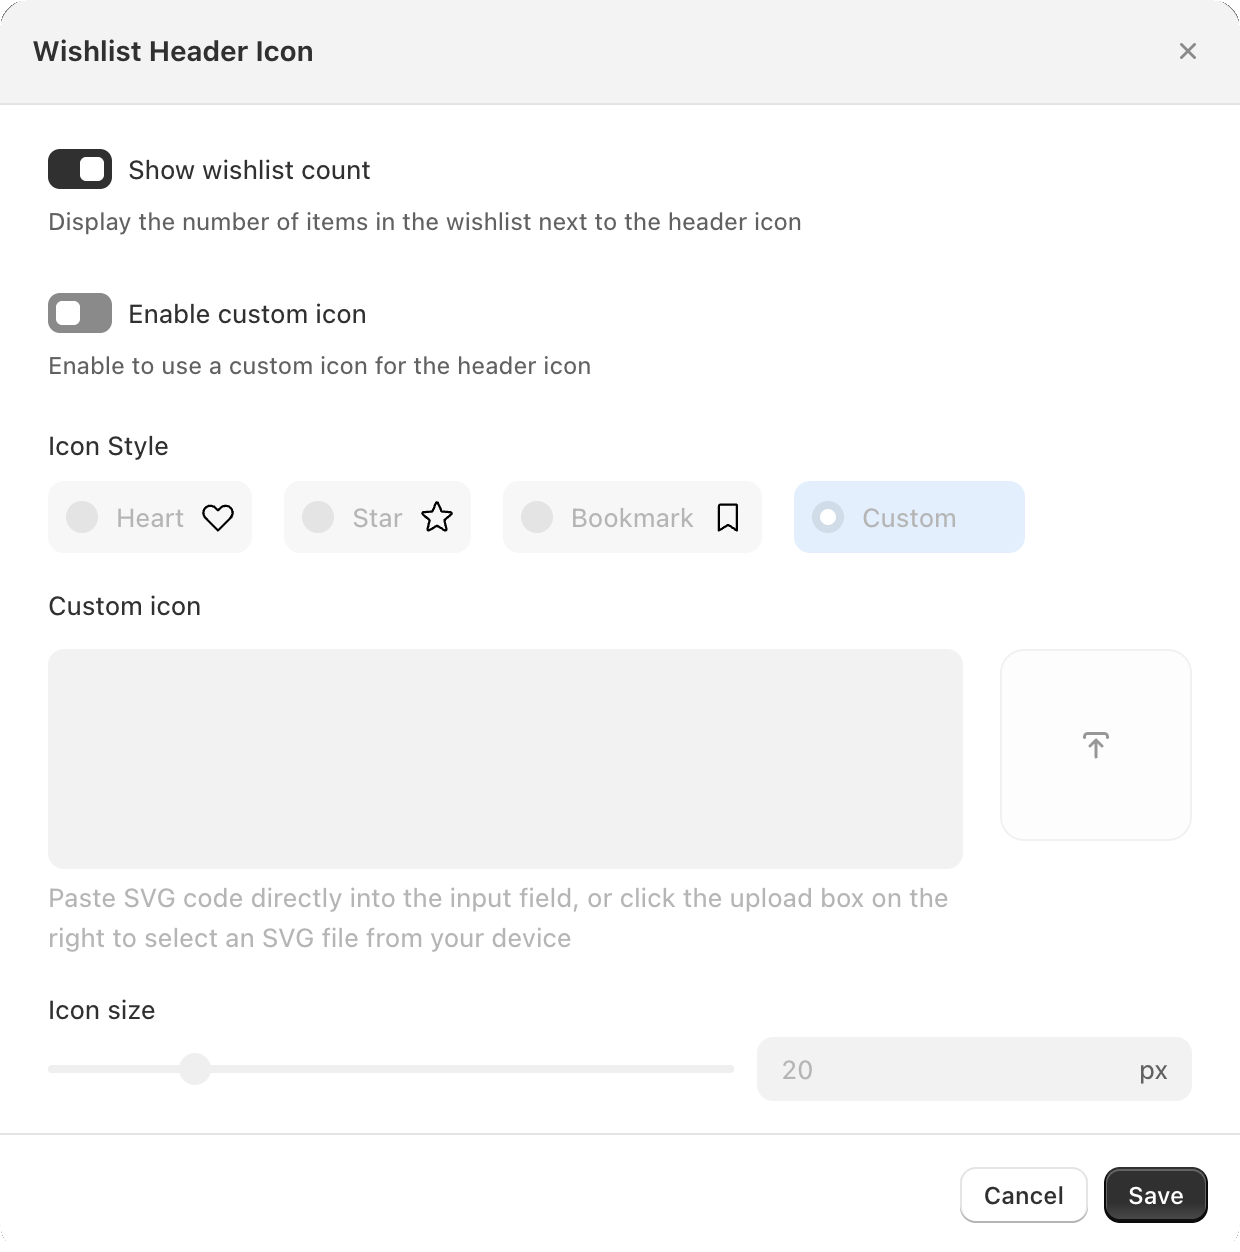
Click Customize on the Wishlist Header card.
| Setting | What it does | Default |
|---|---|---|
| Show wishlist count | The number of saved items next to the icon | On |
| Enable custom icon | Use a different icon from the shared Wishlist icon | Off |
| Icon Style | Heart, Star, Bookmark or Custom (with a custom icon) | |
| Custom icon | Paste SVG code or upload an SVG file | |
| Icon size | 0–100 px | 20 px |
Clicking the icon opens the wishlist: as a popup, or on its own page if you chose Separate Page in the wishlist page settings.
Place it yourself
There are three ways, from easiest to most flexible:
- A menu link. In Online Store → Navigation, add a menu item that links to
#xb-wishlist. Clicking it opens the wishlist. No code. - The XB Wishlist tag. Add
<xb-wishlist-header></xb-wishlist-header>to your header's code. - Your theme's own icon. Wrap your theme's heart icon in the tag so it matches the cart icon exactly.
Steps 2 and 3 are explained in Custom buttons and counters. When you place the tag yourself, the automatic icon is not added, so you won't see two.
Still stuck? Email [email protected] with your store’s .myshopify.com address and we’ll set it up with you.