Wishlist page
Set up the wishlist page
Show the wishlist as a popup over any page, or as its own page on your store.
The wishlist page is where shoppers see what they saved, share it and add it to the cart. It opens from the header icon, the floating button or any link to #xb-wishlist.
Open Features, find Wishlist Page and click Customize. The editor opens on General settings.
Popup or separate page
Display Style decides how the wishlist opens.
| Popup Window (default) | Separate Page | |
|---|---|---|
| How it opens | Over the page the shopper is on | Goes to a page on your store, such as /pages/wishlist |
| Shopper stays where they were | Yes | No, unless you turn on Open In New Tab |
| Has its own URL to link to | No. Use #xb-wishlist | Yes |
| Shows your theme's header and footer | No | Yes |
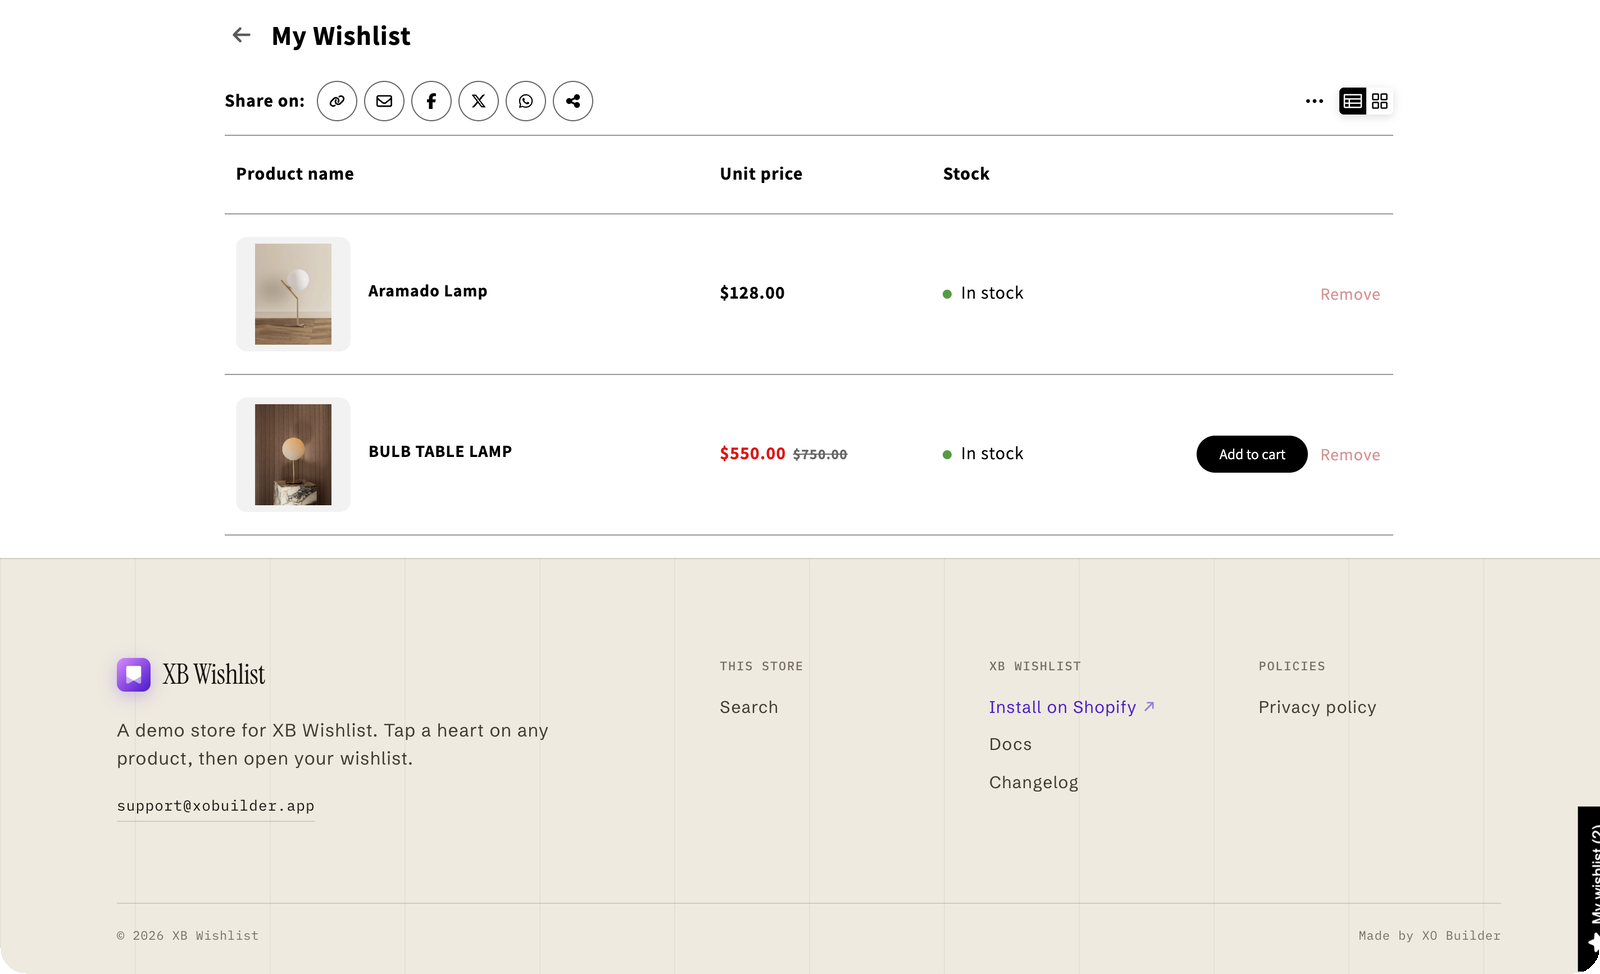
Use a separate page
- Set Display Style to Separate Page.
- Under Page, choose Create a new page and type a New page title, such as Wishlist. Or choose one of your existing pages.
- Click Save.
XB Wishlist creates the page (or uses the one you chose) and puts the wishlist in it. If you later choose a different page, the wishlist is taken off the old page.
Put the wishlist on a page of your own
You can also place the wishlist yourself, for example on a page with a custom template or next to your own content:
- In the theme editor, add the XB Wishlist Product List app block to a page template.
- In the content of a page in Online Store → Pages, type the shortcode
[xb-wishlist-page][/xb-wishlist-page]. - In theme code, add
<xb-wishlist-page></xb-wishlist-page>.
Details in Custom buttons and counters.
Next
- Wishlist page options: layout, what each item shows, sharing, add to cart.
- Wishlist page design: colors and button styles.
- Multiple wishlists: let customers keep several named lists.
Still stuck? Email [email protected] with your store’s .myshopify.com address and we’ll set it up with you.